Are you experiencing a roof leak or do you want to take preventive measures? Either way, you have come to the right place. In this section, we will provide helpful tips and solutions for fixing a roof leak using tar on asphalt shingles. Our step-by-step guide will help you fix the problem, saving you time and money in the long run.
With our guide, you will learn about early detection techniques and how to recognize the signs of a roof leak. We will also provide you with instructions on how to apply tar to repair the leak, along with important tips to ensure a successful repair.
Don’t let a roof leak cause undue stress and damage to your home. Read on for more information on how to detect, prevent, and fix a roof leak using tar on asphalt shingles.
Signs of a Roof Leak and Early Detection
Roof leaks can lead to significant water damage and costly repairs if left unaddressed. It’s crucial to identify the signs of a leaking roof to take prompt action and prevent further damage.
Some of the most common signs of a roof leak include:
- Water stains on ceilings or walls
- Damp or peeling paint
- Mold or mildew growth
- Musty or unpleasant odors
- Dripping or sound of water when raining
If you notice any of these signs, it’s essential to inspect your roof and identify the source of the leak. Early detection can prevent extensive water damage and save you money in the long run.

“Don’t ignore the signs of a roof leak. Early detection can save you a lot of money and prevent extensive water damage.”- John Smith (Roofing Expert)
How to Fix a Roof Leak with Tar on Asphalt Shingles
If you’ve identified a roof leak and need to take action, fixing it with tar on asphalt shingles is an effective solution. Here are the steps you can follow:
Step 1: Gather Materials
Before you begin, make sure you have all the necessary materials, including a ladder, roofing tar, a putty knife, roofing nails, and a caulking gun.
Step 2: Locate the Leak
Identify the location of the leak on the roof’s surface. Check for any damage to the shingles or flashing around the area.
Step 3: Prepare the Surface
Clean the area where the leak is located and remove any debris. Use a wire brush to rough up the surface of the damaged shingles.
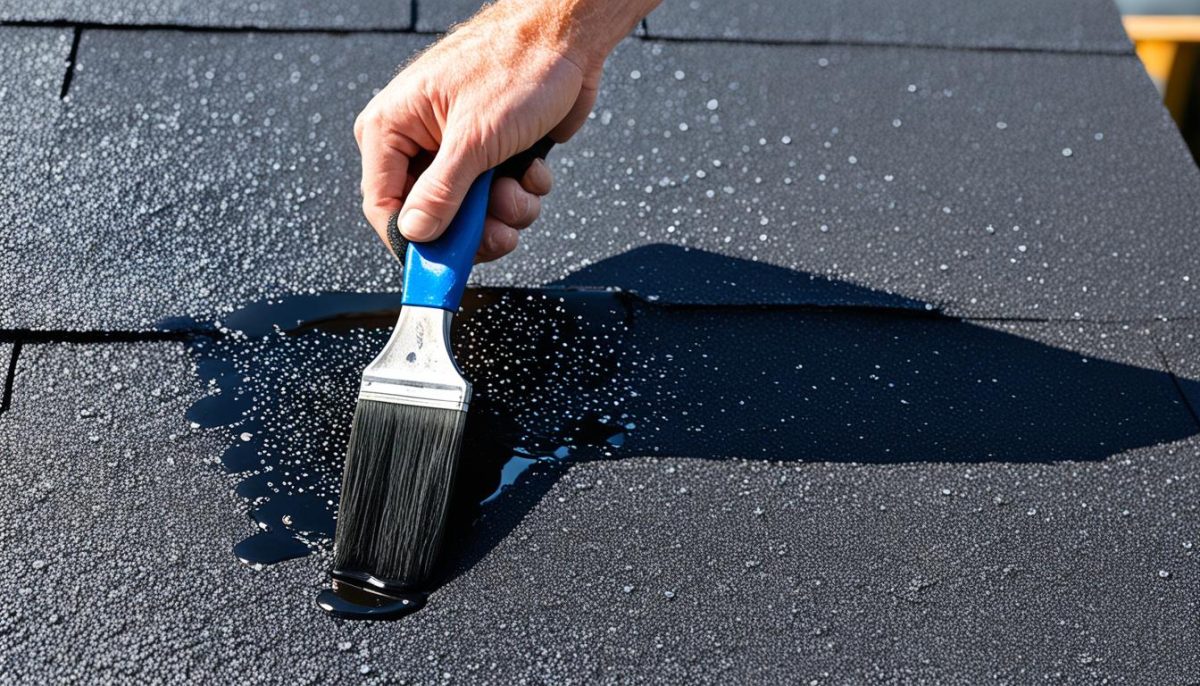
Step 4: Apply Roofing Tar
Using a putty knife and roofing tar, apply a thick layer of tar over the damaged shingles. Make sure it covers the entire area where the leak is located.
Step 5: Secure the Shingles
Once the tar is applied, place a new shingle over the repaired area and secure it with roofing nails. Use the caulking gun to seal around the edges of the new shingle and any gaps.
Step 6: Check for Additional Leaks
Inspect the rest of your roof for any additional leaks. Fixing leaks early can prevent further damage and costly repairs.
By following these steps, you can successfully fix a roof leak with tar on asphalt shingles. Remember to take proper precautions when working on your roof to ensure your safety. If you’re unsure about the repair or feel uncomfortable doing it yourself, consider hiring a professional.

